
Every successful building project starts with a reliable foundation, and in Melbourne, slab inspections play a key role in ensuring this. Given the city’s wide variation in soil types, from sandy loams in the bayside suburbs to reactive clay in the northern and western regions, overlooking a slab inspection can be a costly mistake.
Too often, projects run into issues because inspections are rushed or skipped. Problems such as slab heave, cracking, or water ingress can arise months or years later, leaving owners with major repair bills.
This blog provides a detailed slab inspection checklist that covers everything from pre-inspection preparation through to the final sign-off. Whether you’re a builder, project manager, or property owner, these steps will help protect your investment and ensure compliance with Australian standards.
Why Slab Inspection Matters
Structural Integrity
The slab is not just a base, it carries the weight of the entire building. Any weakness here will affect the rest of the structure, from cracked walls to misaligned doors and windows. A proper inspection confirms that the slab is capable of carrying these loads without movement or failure.
Preventing Costly Repairs
Repairing foundation problems after construction is expensive. For example, underpinning a home in Melbourne due to slab movement can cost tens of thousands of dollars. A thorough inspection reduces this risk significantly by identifying issues before the concrete is poured.
Compliance with Standards
Inspections also ensure that work complies with the National Construction Code (NCC) and local building regulations. In Melbourne, councils often have specific requirements based on local soil conditions, making professional inspections essential for passing final approvals.
Pre-Inspection Preparation
Gather Approvals and Plans
Always have the approved engineering drawings and council permits on hand. These documents are the benchmark against which the inspection is carried out. Without them, critical details such as slab thickness, reinforcement type, and footing dimensions can be overlooked.
Tools and Documentation
Bring along measuring tapes, levels, and a copy of the inspection checklist. Taking photos during the inspection is also recommended, they provide valuable evidence for future reference.
Safety First
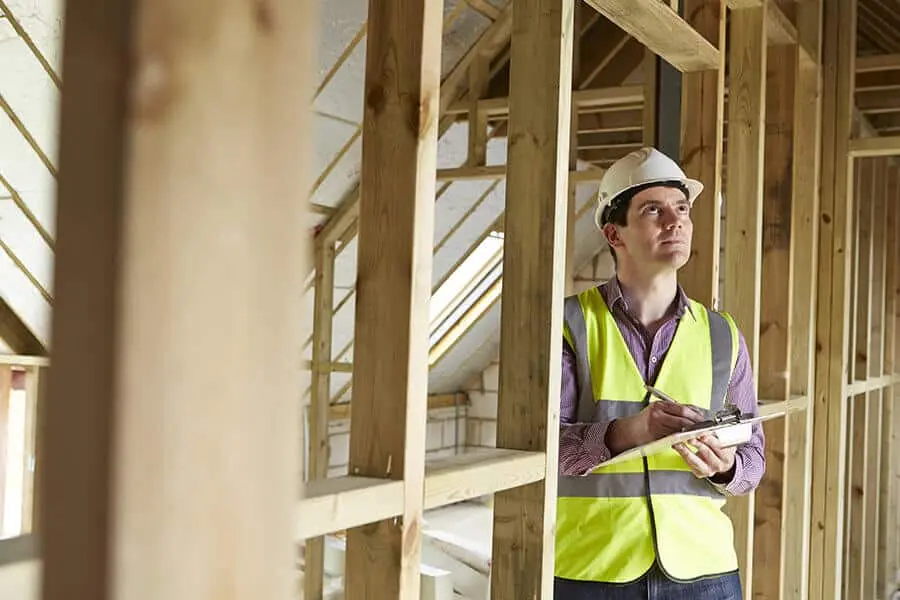
Construction sites can be hazardous. Ensure safe access is provided with clear walkways, stable ladders, and appropriate signage. All personnel should wear safety gear including boots, helmets, and high-visibility clothing.
Site Preparation Checklist
Soil Compaction and Grading
Reactive clay, common across much of Melbourne, expands and contracts with changes in moisture. This makes compaction and soil preparation critical. A geotechnical report should guide how the soil is compacted and stabilised, and testing should be conducted to verify density levels.
Drainage and Slope
Water is one of the biggest threats to slab integrity. Proper grading ensures rainwater flows away from the foundation. In Melbourne, where winter rainfall can be heavy, drainage checks are especially important. Adding agi-drains or surface drains may be necessary for high-risk sites.
Clear the Site
Remove all debris, vegetation, and organic material before laying the slab. Even small tree roots or rubbish can compromise the slab over time by creating voids underneath.
Formwork Inspection
Dimensions and Alignment
Inspectors check that formwork matches the design specifications. Misaligned formwork leads to uneven walls and floors later. Measurements are taken to confirm the dimensions match the approved plans.
Stability and Reinforcement
The formwork must be stable enough to withstand the pressure of wet concrete. Braces and supports are inspected to prevent movement or collapse during the pour.
Vapour Barriers and Insulation
Melbourne’s climate, with its damp winters, makes vapour barriers vital. Plastic membranes prevent rising damp from entering the slab and damaging flooring or internal finishes. Insulation may also be inspected in projects requiring energy efficiency compliance.
Reinforcement (Rebar/Steel) Inspection
Correct Placement
Steel reinforcement gives the slab its strength. Inspectors check that bars are correctly spaced, overlapped, and tied in place according to the engineer’s drawings.
Securing Reinforcement
Loose rebar shifts easily during a pour. Wire ties and bar chairs keep reinforcement secure and positioned at the correct height.
Cover and Protection
Adequate concrete cover prevents steel from corroding. In Melbourne, where groundwater can be acidic in certain suburbs, this is especially important to maintain long-term durability.
Plumbing, Electrical, and Utilities Check
Proper Positioning
All services running through the slab, pipes, conduits, and drains, must be correctly placed before pouring. Relocating or repairing them after pouring can involve cutting into the slab, a costly and avoidable error.
Leak Testing
Pipes should be tested for leaks by pressurising them with water or air. This ensures any faults are corrected before the slab locks everything into place.
Adequate Spacing
Utilities must have the correct clearance to avoid weakening the slab or causing future cracks. Inspectors confirm placements match design plans and safety standards.
Concrete Mix and Delivery Readiness
Mix Verification
Concrete strength, measured in megapascals (MPa), must align with the engineer’s specifications. Residential slabs in Melbourne typically require 20-25 MPa, though higher grades may be specified for commercial projects.
On-Site Testing
A slump test measures the consistency of the concrete mix. Too wet and it weakens; too dry and it becomes difficult to pour. Test cylinders may also be cast for later lab testing.
Delivery Planning
Concrete must be poured continuously to avoid cold joints. Inspectors check that trucks are scheduled efficiently, and that site access can accommodate deliveries without delay.
Final Pre-Pour Walkthrough
Checklist Review
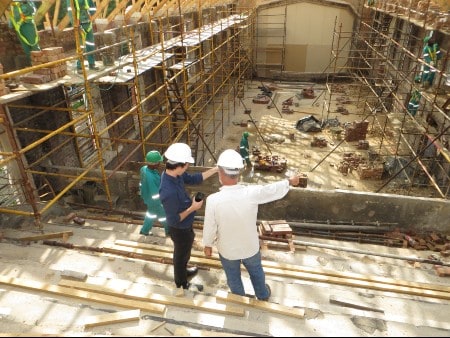
The inspector and builder walk through the site using the slab inspection checklist. Each item is ticked off to confirm compliance.
Last-Minute Corrections
Minor adjustments, such as retying reinforcement or repositioning pipes, are made at this stage. The pour should not proceed until all corrections are complete.
Sign-Off
The final step is obtaining written approval. This provides documented proof that the slab is ready for pouring and protects builders from liability later.
Common Mistakes to Avoid During Slab Inspections
- Missing reinforcement overlaps: This weakens the slab’s structural capacity.
- Poor soil compaction: Can lead to slab heave or settlement, common in Melbourne’s reactive clay areas.
- Rushed utility placement: Incorrect pipe placement is one of the most expensive errors to fix post-pour.
- Skipping vapour barriers: Without them, dampness can rise into the slab, damaging flooring materials.
- Inadequate drainage planning: In suburbs with heavy rainfall, poor drainage quickly undermines the slab.
Conclusion
Slab inspections are more than just a box-ticking exercise. They ensure your foundation is structurally sound, compliant with regulations, and protected against long-term issues.
By following this checklist, builders and property owners can avoid common mistakes, reduce costly repairs, and deliver a safer, stronger structure. Taking the time to get it right before pouring will always pay off in the years to come.
For further guidance, explore these inspection services:
- Slab Stage Inspection Melbourne
- Stage Inspections Melbourne
- Frame Stage Inspection Melbourne
- Fixing Stage Inspection Melbourne
- Lock-Up Stage Pre-Plaster Inspection Melbourne
- Pre-Handover PCI Inspections Melbourne
Frequently Asked Questions
Who carries out slab inspections?
Typically, an independent building inspector or structural engineer conducts slab inspections. Independent inspections are especially valuable in Melbourne, where soil conditions vary widely.
Do I need an inspection if the builder has organised one?
Yes. Builders may have their own checks, but independent inspections provide peace of mind and help catch issues that might otherwise be missed.
What happens if problems are identified?
The builder must correct any issues before the concrete is poured. This could mean re-compacting soil, adjusting rebar, or re-positioning pipes.
How long does a slab inspection take?
Inspections usually take between one and three hours, depending on the complexity of the project and site access.
Is a slab inspection mandatory in Melbourne?
While inspections are often required by councils, many property owners also choose independent inspections for additional assurance.
Can slab inspections prevent slab heave?
They can’t prevent slab heave entirely, but by ensuring proper soil preparation, drainage, and reinforcement, inspections significantly reduce the risk.